
Lighting retrofits without headaches: choosing Type A, B, C, or full fixture the right way
Year-end budgets and incentive deadlines create pressure. The fastest decision is rarely the best one. A structured path keeps safety, visibility, and ROI aligned.
This guide provides a field-ready framework for facilities in the greater Chicago area. It compares Type A, B, C, and full fixture replacement with code, safety, controls, and utility incentives in view. It also includes labeling notes, photometric targets, and a step-by-step audit-to-install workflow.
The outcome is simple: pick the right path once, install safely, hit target footcandles with low glare, and commission controls to lock in savings.
Start with the decision framework
Select the primary driver, then apply constraints.
- Primary driver: safety and code, fixture condition, controls roadmap, ROI timeline, incentives.
- Constraints: operating hours, mounting height, optics needs, ambient vs task layers, disruption tolerance.
Mapping drivers to paths:
- If ballasts are recent, compatible, and fixtures are clean: Type A can be acceptable for quick wins.
- If ballasts are failing or nuisance-tripping: Type B or Type C avoids ballast risk.
- If advanced controls or networked sensors are planned: Type C or full fixture is preferred.
- If optics and glare are poor, or housings are degraded: full fixture replacement.
Type A, B, C, and full fixture at a glance
- Type A (ballast-compatible LED tubes): Lowest labor if the existing ballast is on the lamp’s approved list. Faster installs and minimal rewiring. Ballast remains a failure point and can reduce net efficiency.
- Type B (ballast-bypass/direct-wire LED tubes): Removes ballast losses and failure risks. Requires wiring changes, polarity management for single-ended lamps, mandatory relabeling, and strong lockout/tagout discipline.
- Type C (external LED driver with LED lamps or light engines): Dedicated driver improves efficiency, dimming, and control stability. Strong path for networked controls and future upgrades. Requires driver mounting space and wiring updates.
- Full fixture replacement: New optics, glare control, integral or networked controls, longer useful life, and strong incentive eligibility. Higher material cost and more installation time.
Chicago-area incentives and planning notes
ComEd and regional programs typically favor solutions with higher verified savings and controls. Full fixtures and Type C systems with networked occupancy and daylight controls often score best. Type B can still qualify when wattage reduction is clear and labeling is correct. Incentive rules change; verify pre-approval, product listings, and cut sheets during scoping. Plan around year-end backlogs to avoid missing submission windows.
If you manage sites in Naperville or nearby, schedule a short audit to align scope and rebates. See our commercial lighting and retrofit services for regional dispatch and planning support.
Safety, code, and labeling requirements
For ballast-bypass or driver work:
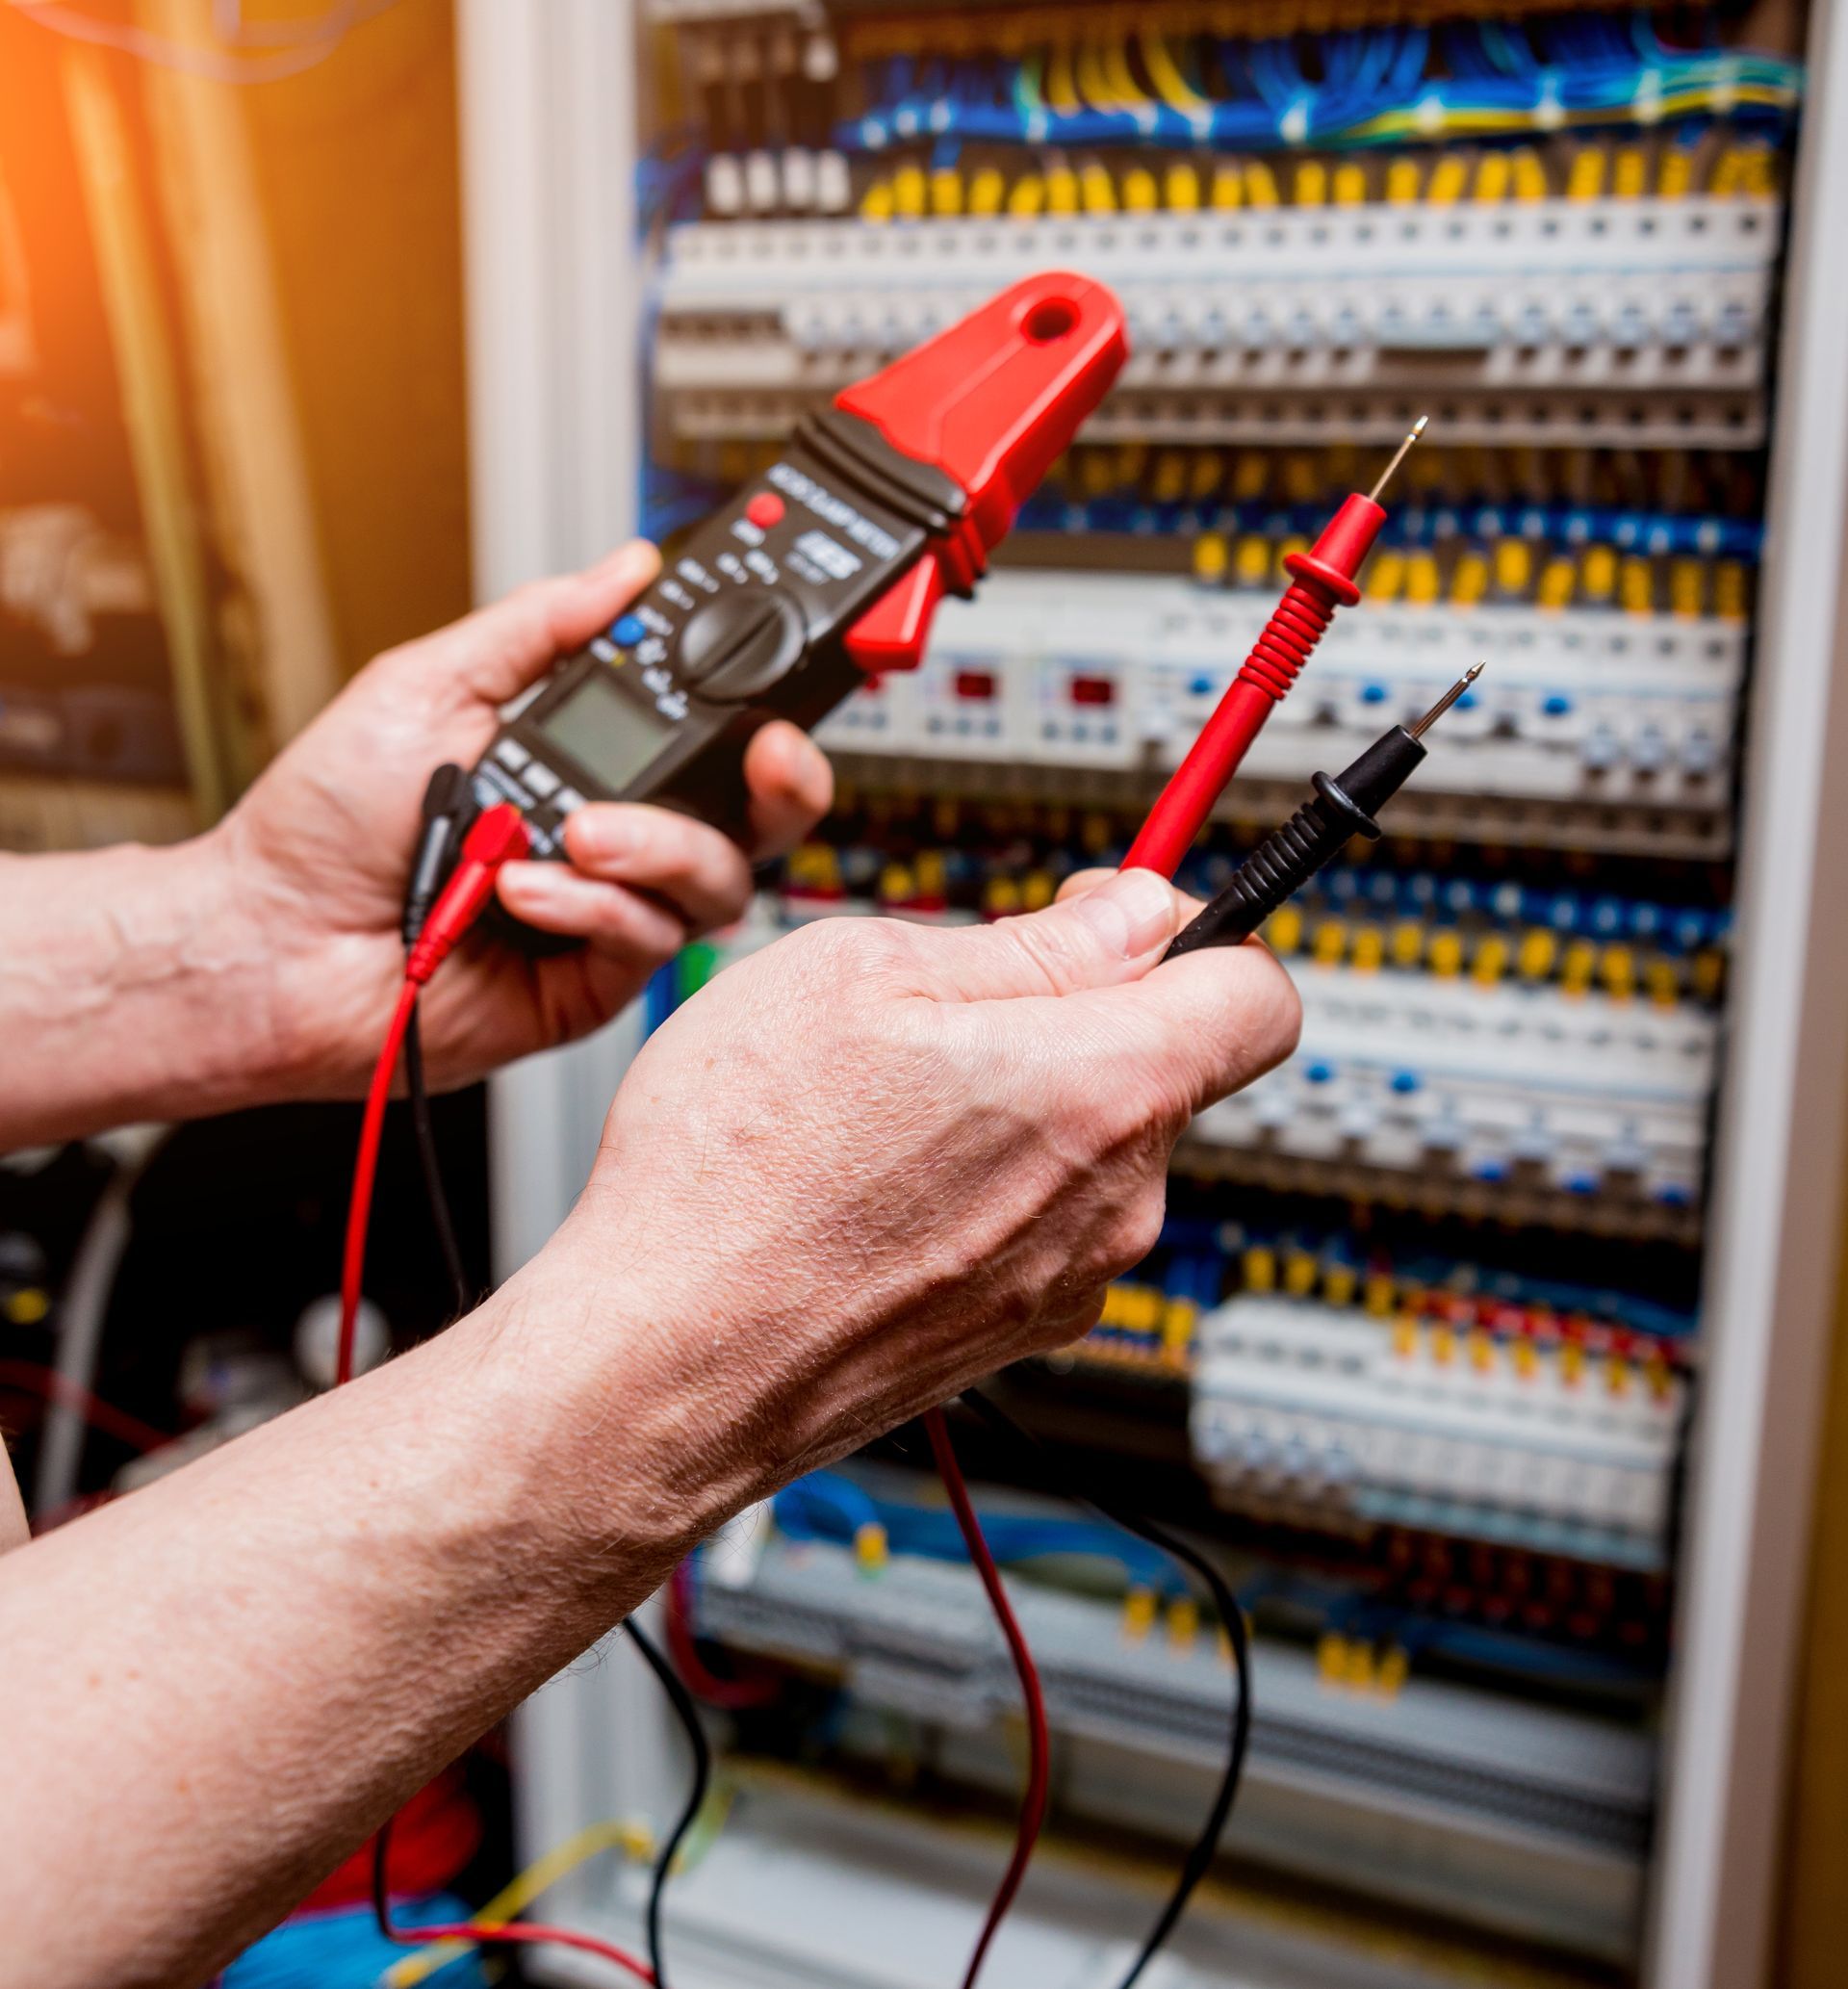
- De-energize and verify absence of voltage. Follow lockout/tagout.
- Use UL-listed components matched to the application.
- Maintain correct lampholder ratings, lead insulation, and grounding.
- Update wiring diagrams in the fixture when altered.
Required relabeling examples:
- Single-line note inside housing: “Line hot to tombstone A, neutral to tombstone B. No ballast present.”
- Warning label at lens/door: “LED retrofit. Ballast removed. Install Type B lamps only.”
- Panel schedule or circuit log: “Area XYZ, fixtures F1-F24, converted to LED Type B, date, technician ID.”
For Type C:
- Label driver make, model, input, output, and lamp count. Add a driver wiring diagram and dimming interface notes.
For full fixtures:
- Record fixture wattage, control type, and sensor settings for commissioning records.
Photometrics, optics, and glare control
Design to task illuminance and uniformity, not nameplate lumens.
- Common interior targets: 30 to 50 footcandles for open office, 50 to 70 for classrooms and healthcare corridors, 30 to 80 for warehouses depending on task and aisle height. Use your authority having jurisdiction and IES recommendations for exact values.
- Uniformity: aim for max-to-min ratios that avoid hot spots. Warehouses typically benefit from narrower optics for racking aisles and wider for open pick areas.
- Glare: select fixtures with proper shielding, diffusers, or lens optics. High-bay lenses and louvers reduce high-angle brightness. Photometric layouts validate spacing, tilt, and optic choice.
CCT and CRI by application
- Offices and classrooms: 3500K to 4000K, CRI 80 or higher.
- Retail, healthcare, art, inspection: 3500K to 4000K, CRI 90 when color accuracy matters.
- Industrial and warehousing: 4000K to 5000K depending on reflectance and daylight. CRI 80 is typically sufficient.
Choose CCT for comfort and accuracy after you meet footcandle targets with the right optics.
Controls and commissioning
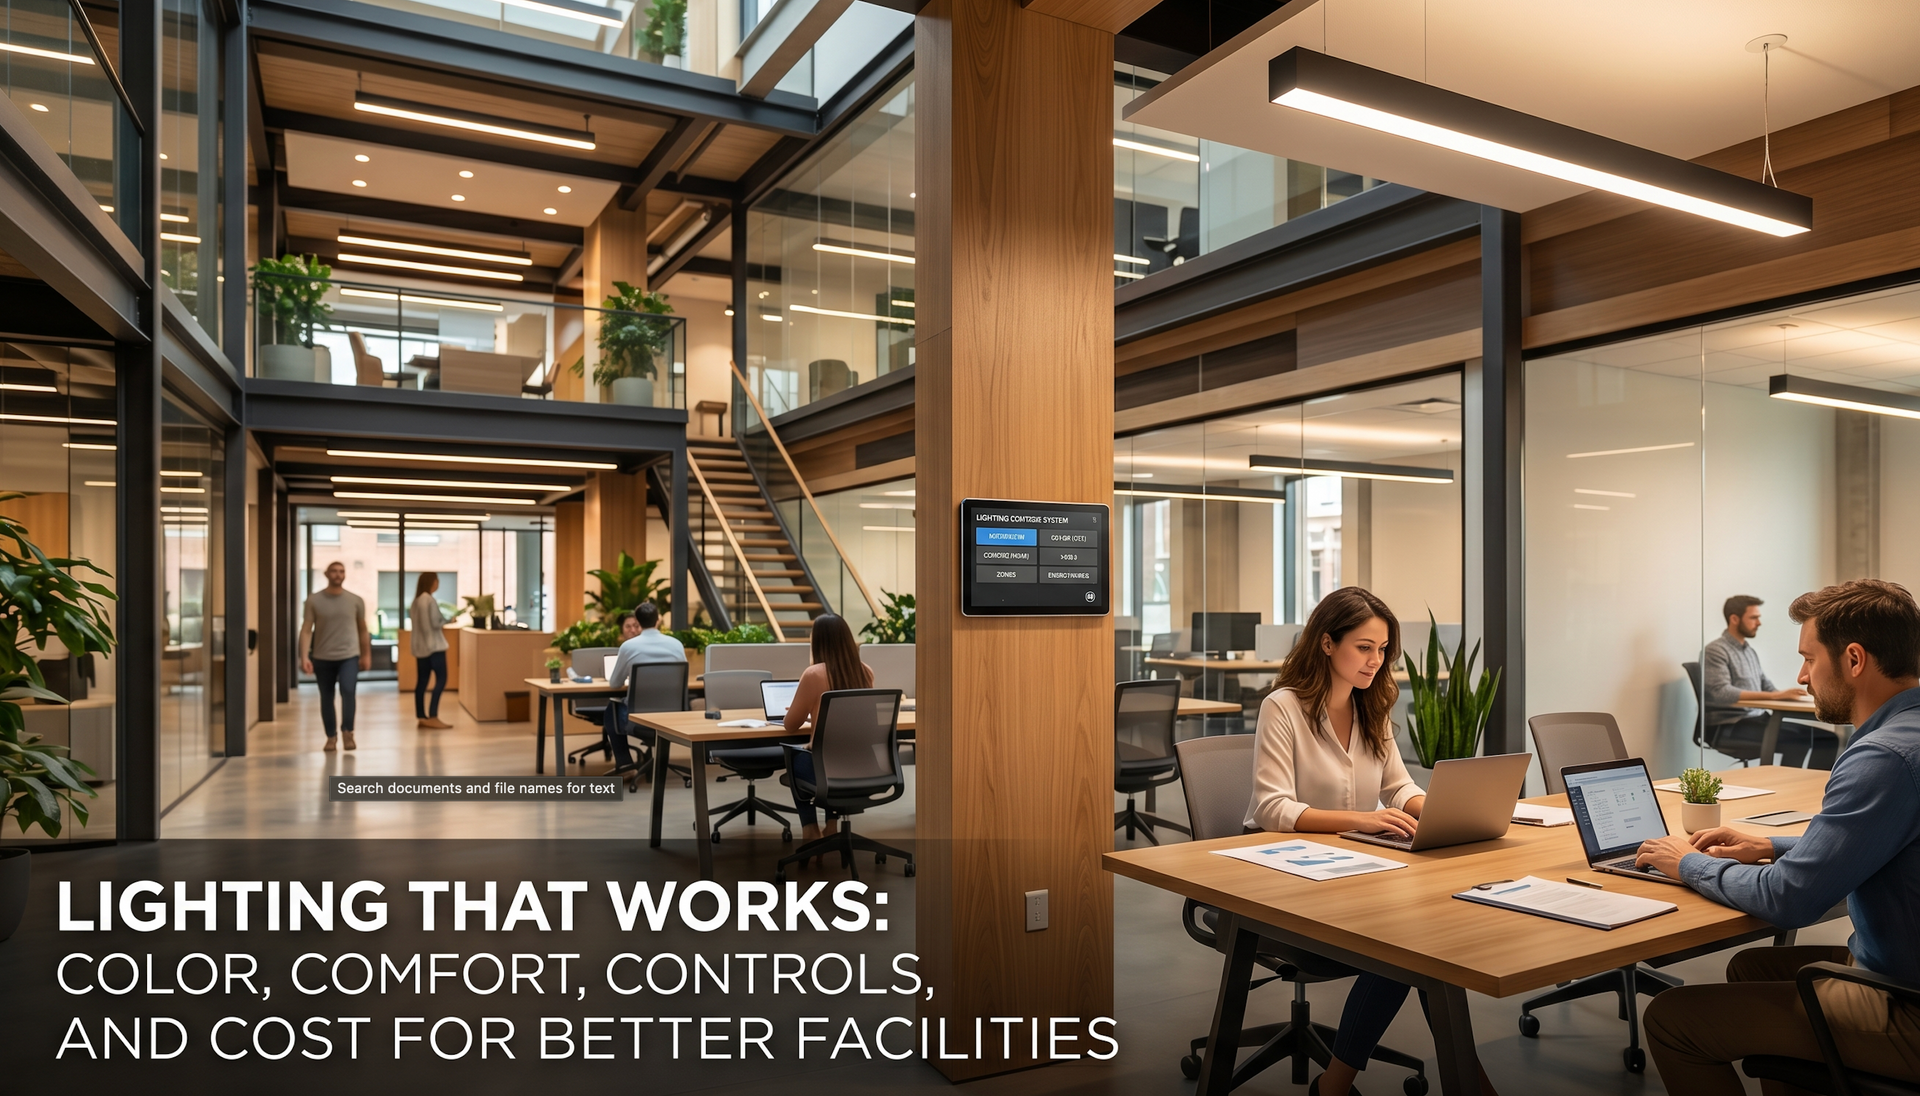
Controls drive savings but only when tuned.
- Pair occupancy sensors with timeouts matched to space use.
- Add daylight sensors near fenestration with proper setpoints and deadbands.
- For Type C and full fixtures, plan dimming interfaces and networked gateways early.
- Commissioning checklist: verify zoning, sensor coverage, high-end trim, setpoints, schedules, and failsafes. Document final settings.
Step-by-step audit-to-install workflow
- Scope and safety
- Define objectives, constraints, operating hours, and outage windows.
- Capture panel schedules, fixture counts, mounting heights, and control zones.
- Condition assessment
- Inspect housings, lenses, lampholders, ballasts, wiring insulation, and grounding.
- Record failures, discoloration, and moisture exposure.
- Photometrics and design
- Model target footcandles and uniformity. Select optics, CCT, CRI, and control topology.
- Incentives and approvals
- Pull product listings and cut sheets. Submit pre-approval with measured baselines.
- Mockup
- Install a pilot row or zone. Confirm glare, contrast, and sensor behavior.
- Finalize scope
- Choose Type A, B, C, or full fixture based on pilot data and ROI.
- Install and label
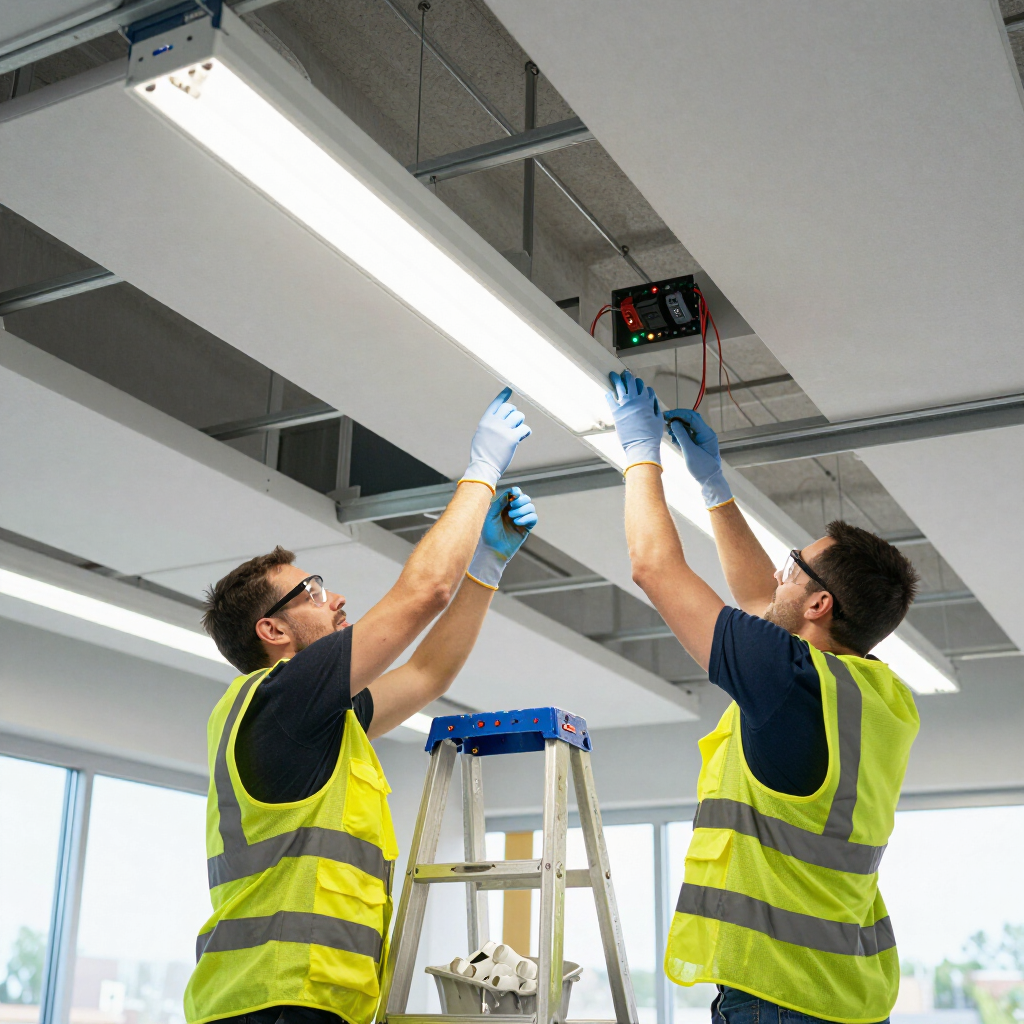
- Perform lockout/tagout. Rewire per schematics. Apply labels and update single-line notes.
- Commission and verify
- Tune sensors and dimming. Re-run spot measurements for footcandles and uniformity.
- Closeout
- Provide as-builts, settings, warranty data, and incentive documentation.
Risk matrix, common pitfalls, and mitigations
- Using Type A with incompatible ballasts: lamp flicker or early failure. Mitigation: verify the manufacturer’s ballast compatibility list.
- Type B without relabeling: future lamp misapplication and shock risk. Mitigation: mandatory internal and external labels, updated diagrams.
- Poor optics selection: bright spots and complaints. Mitigation: photometric layouts and pilot installs.
- Controls without commissioning: savings lost and nuisance shutoffs. Mitigation: documented commissioning with trims and schedules.
- Skipping incentive pre-approval: reduced or lost rebates. Mitigation: submit early with complete product and baseline data.
- Ignoring aging lampholders or brittle wiring: intermittent outages. Mitigation: replace sockets and leads during retrofit.
Cost and ROI realities
Costs vary by method, height, fixture condition, controls, and permit needs. Type A is typically lowest first cost, Type B and Type C are mid-range depending on rewiring and drivers, full fixtures cost more but often win on optics, controls readiness, and incentives. ROI depends on run hours and verified savings. For accurate pricing, use a site audit and quote rather than a rule of thumb.
If you operate in Batavia or Naperville and need a scoped plan with incentives and commissioning, connect with our team for lighting upgrade service and energy-efficient lighting installation in Naperville.
Quick FAQ
- Can you just replace a fluorescent tube with LED? Sometimes. Type A lamps can work if your ballast is on the approved list. Otherwise choose Type B, Type C, or full fixture.
- Do LED tubes need a special ballast? Type A uses compatible fluorescent ballasts. Type B does not use a ballast and needs direct wiring. Type C uses a dedicated LED driver.
- Can you remove the ballast and put in LEDs? Yes, with Type B. It requires safe rewiring, polarity checks, and fixture relabeling.
- How do you convert a 4 ft fluorescent to LED? Pick a path. Type A: verify ballast compatibility and relabel as needed. Type B: bypass ballast, wire to lampholders, add labels and diagrams. Type C: install an LED driver and matched lamps. Full fixture: replace with an LED troffer or strip and commission.
- What are the drawbacks of LED bypass? Risk if miswired or unlabeled, potential socket wear if lampholders are old, and no ballast to filter line noise on poor power. All are manageable with correct components, wiring, and labeling.
- How much does it cost to convert fluorescent to LED? It varies by path, fixture count, height, controls, and incentives. A site audit is required for a precise quote and ROI model.
Summary and next step
Choose the path that meets safety, light quality, and controls goals while capturing incentives. Validate ballasts for Type A, relabel for Type B, plan drivers and dimming for Type C, or replace fixtures when optics and longevity matter most. Confirm photometrics, commission controls, and document wiring and labels.
Need a fast, code-true plan with incentives before year-end Cutoffs? Schedule a free audit with TCL Electrical & Lighting for a scoped retrofit and commissioning plan across the greater Chicago area. For regional support, see our pages for commercial lighting installs in Batavia and energy-efficient lighting installation in Naperville.